

This post has definitely been a long time in the making. I began it, oh three weeks or so ago, intending it to be a Valentine’s Day post. But then there were basketball games to attend (my daughter’s, not the Washington Wizards’), college choices to consider (my other daughter’s), and homework to do (my own, not my daughters’), and before I knew it, I was three weeks out and still no post.
Of course, it didn’t help that I started out a bit daunted with the idea of developing the recipe that’s in the post. You see, for some reason, I decided that I wanted to celebrate Valentine’s Day with cheesecake squares, preferably ones the come out of the oven decorated with splashes of raspberry sauce swirled into charming, heart-like shapes. It was Valentine’s Day for goodness sake! At the same time, any recipe for cheesecake squares had to meet my two basic conditions for appearing on this blog: They had to be a snap to make. And, they couldn’t be fat and sugar bombs, which would have prevented me from enjoying them more than a few times a year.
At first I was stumped. Cheesecakes have always seemed, well, rather temperamental. Cook them at too high a heat or for too long a time, and they burn. Omit the water bath, and they crack. Use the wrong ingredients at the wrong temperatures or with the wrong technique, and they’re crumbly. The challenges were almost enough to convince me that the only successful cheesecake is one that arrives, frozen and in an easy-to-open box, from my local supermarket.
But today, after some research and a week of trial and error, I’m happy to report that I’ve managed to overcome my initial trepidation. Cheesecake, in turns out, can be made quite easily. In fact, the version I’m sharing with you today is so easy that I’m predicting that it will become a regular in your baking repertoire. And it even passes those all important tests: the kid version (as in “Mom, you made cheesecake again? Yum!”) and the mom version (such as “I’m actually ok with my kids eating this cheesecake every day for a week!”).
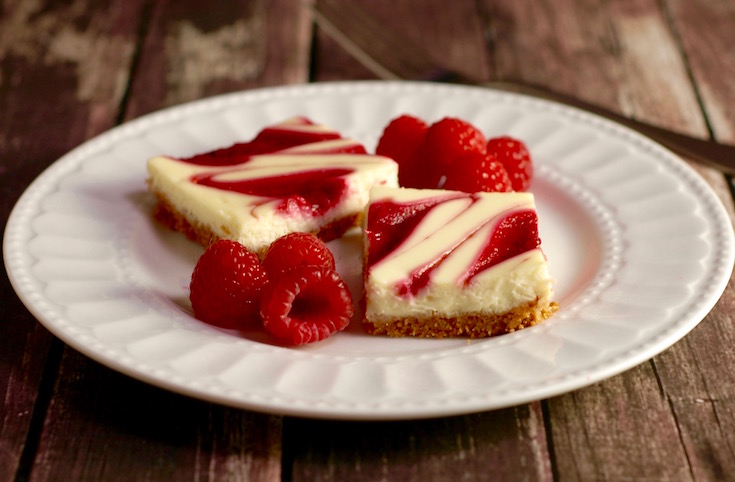
Of course, I do have to admit that there was one aspect of my original plan that didn’t make it through R&D process: The decorative hearts made from raspberry sauce. Try as I might, mine never managed to avoid looking like what, in fact, they were — misshapen blobs of rasperry sauce. So, rather than obsess about how to perfect that technique, I decided that my cheesecake squares should be topped with raspberry swirls. Not only do the swirls add sophistication to the cheesecake squares, I now have the unexpected benefit of being able serve them all year long!


Raspberry Swirl Cheesecake Squares
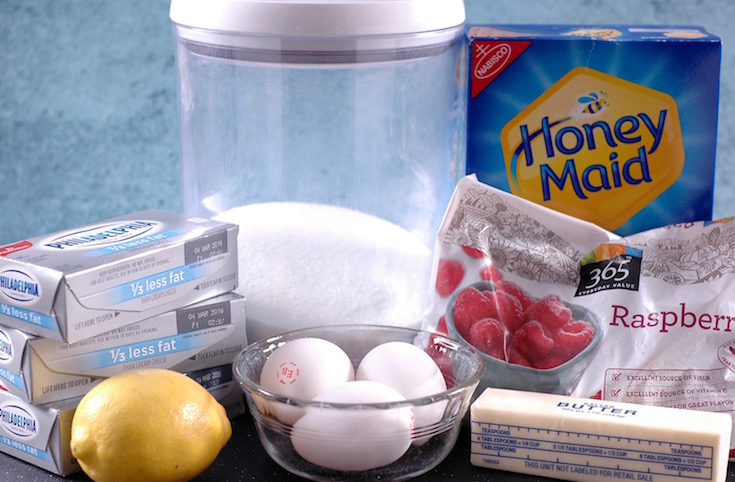
Ingredients:
1 6-ounce package frozen raspberries
2 tablespoons sugar
1/2 cup water
⅔ of a 14.4 oz (408 grams) box of graham crackers
1 stick (8 tablespoons or 113 grams) unsalted butter, melted and slightly cooled
3 8-ounce (225 grams) bricks of reduced fat cream cheese, at room temperature
1/2 cup of sugar
juice of one lemon (2-3 tablespoons)
3 large eggs, at room temperature
Directions:
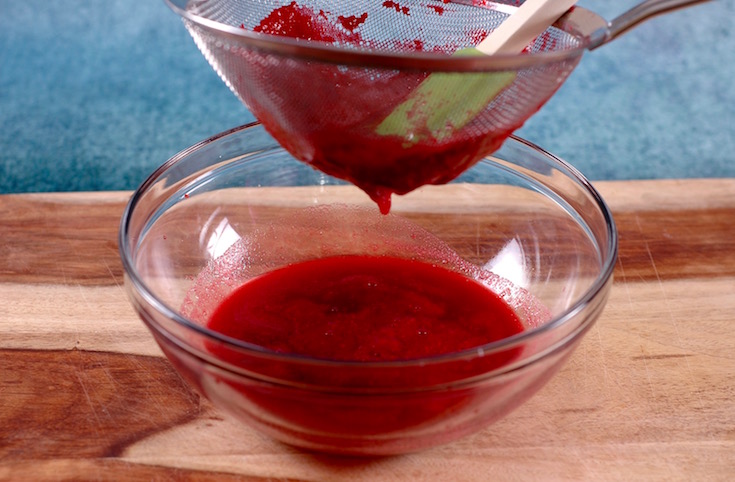
1. Make the raspberry sauce. In a medium size pan, combine the frozen raspberries, sugar, and water. Bring to a boil and then immediately reduce the heat and simmer for 2-3 minutes, stirring occasionally to help dissolve the sugar. Turn off the heat and allow to cool for about 15 minutes. Puree the mixture in the bowl of a food processor or a blender, and then press the puree through a fine mesh strainer. Discard the seeds. The strained sauce can be kept in a covered container in the refrigerator for up to a week.
2. Preheat the oven and prepare the pan. Preheat the oven to 350°F (175°C). In a quarter size sheet pan (9½ x 13-inch/ 33 x 24.1 cm), make a “sling” by placing a long piece of parchment paper over the bottom of the pan, allowing a couple of inches of paper to overhang the two long sides of the pan. If it helps, you can use binder clips to secure the parchment paper and prevent the two overhanging edges from curling back over the sides of the pan.
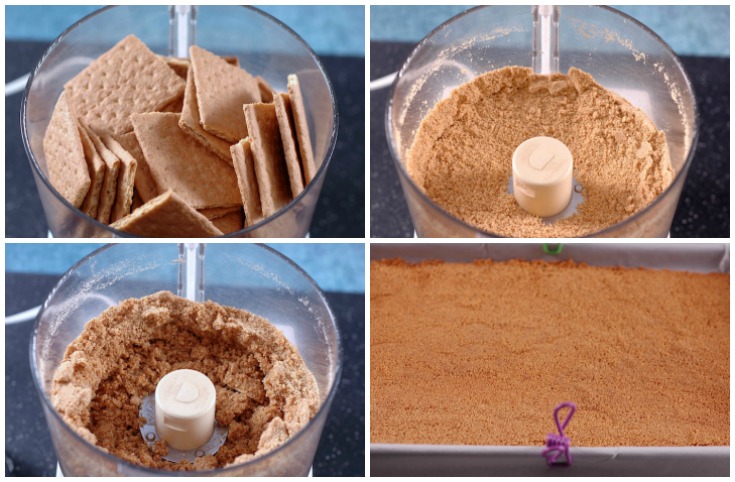
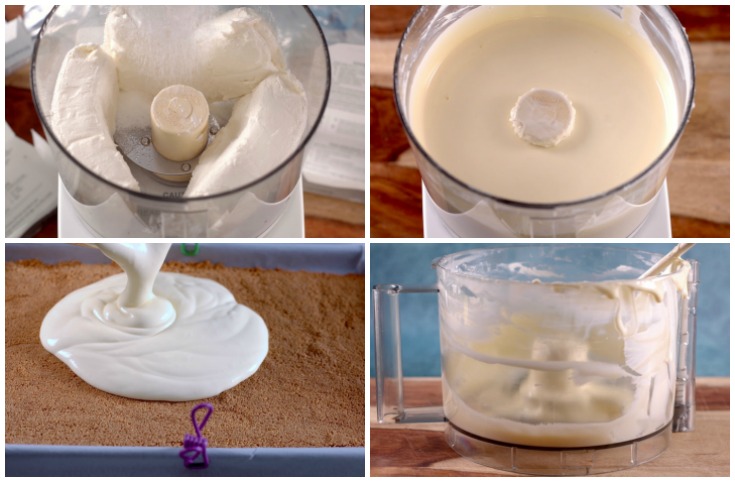
3. Make the crust. Break up the graham crackers and place them in the bowl of a food processor. Pulse until they have been reduced to fine crumbs. (Any large pieces that remain can be crushed by hand.) You should have about 2 cups. Add the melted butter to the crumbs and pulse until the mixture is the consistency of wet sand. Evenly press the butter-soaked crumbs onto the bottom of the prepared pan. Bake until the crust starts to brown, about 10 minutes. Remove from the oven and allow to cool while preparing the cheesecake filling.
3. Make the cheesecake filling. Either wash or wipe out the bowl of the food processor with a paper towel to remove any excess crumbs. Add the cream cheese and sugar to the cleaned bowl and pulse until the cheese is smooth and without lumps. Add the lemon juice and then the eggs, one at a time, processing 3 to 5 seconds to blend after the addition of each egg. Scrape down the sides of the bowl a few times if necessary. Pour the filling mixture evenly over the cooled crust and smooth the top with a spatula. To help bring any air bubbles trapped in the filling to the surfce, gently tap the filled pan on the counter a few times.
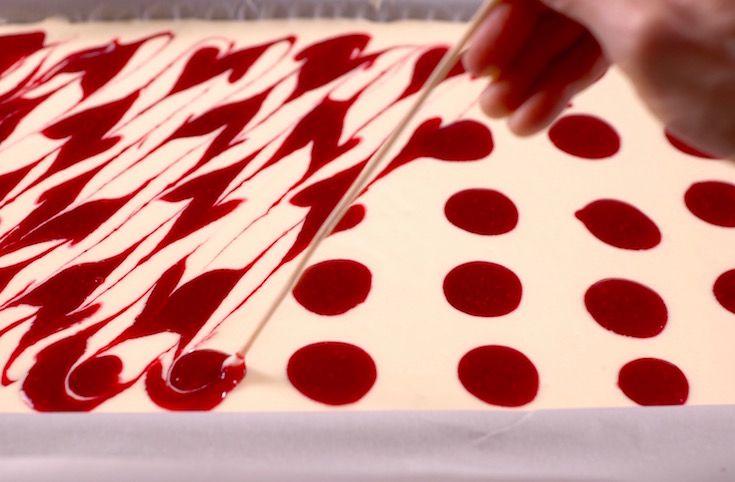
4. Make the raspberry swirls. After dropping small spoonfuls of raspberry sauce all over the top of the uncooked cheesecake filling, drag the end of a toothpick or wooden skewer through the drops, creating a swirl or other design.
5. Bake and serve the cheesecake. Place the cheesecake in the still preheated oven for 20 minutes, taking care not to overcook the cheesecake. It will be done when the center is still a bit jiggly. Allow to cool completely, a couple of hours or so depending on the temperature of your kitchen. To serve, carefully remove the cooled cheesecake from the pan by carefully lifting up the parchment paper using the two overhanging sides. Place on a flat surface and then cut into small or large squares. The cheesecake squares can be served immediately or stored in a covered container in the referigerator for 3-5 days.
Copyright© A Busy Mom’s Kitchen
https://abusymomskitchen.com/2016/02/26/raspberry-swirl-cheesecake-squares/#more-2204

